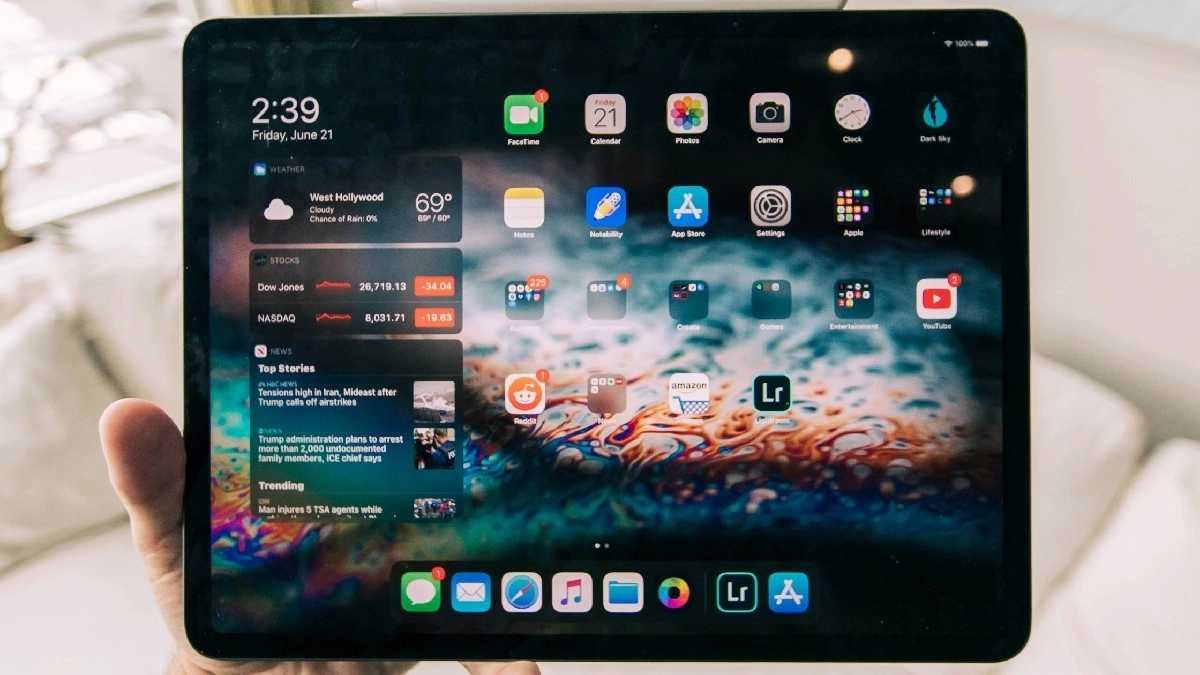
Apple began selling their line of tablets on April 3, 2010. Since then, a number of Apple iPad models have been released, including the iPad 1, iPad 2, iPad 3, iPad 4, iPad mini, iPad Air, iPad Air 2, and the most recent iPad Pro. These gadgets always provide their users with a high-end feel and an extremely quick OS. The iPad continues Apple’s tradition of high-quality products, outstanding functionality, and happy customers. Compared to other tablets in the same category, this tablet is attractive and relatively light.
The fact that each Apple gadget runs its own version of iOS is the finest part. We will learn how to easily delete history on an iPad in this article today. When you want to keep your past private from prying eyes, it is crucial to clean your iPad’s history.
If you want to delete your iPad’s search history quickly and permanently, then read on! In just a few clicks, you can easily erase any progress of what you have been searching or browsing. This tutorial will cover the steps needed to permanently clear out all traces of your search history from your iPad.
Open the Settings App.
The first step to deleting your search history on the iPad is to open the Settings app. You can find this on the home screen or in you app drawer. At the top of your screen, select the “Safari” option and then scroll all the way down until you see “Clear History and Website Data”. Select it and tap “Clear History and Data” to get rid of your search history permanently.
You can read 10 Tips for Making the Most Out of Apple Music Replay
Open Safari Settings.
To begin the process of permanently deleting your search history, you’ll need to open the settings app on your iPad. Once you open the settings you’ll need to scroll until you spot “Safari,” then tap on it to open its specific settings. From here, tap “Clear History and Website Data”.
You can also read Why Is My Apple Music Crashing and How Can I Fix It?
Select Clear History and Website Data Option.
To finish the process of deleting your search history, you’ll need to select the “Clear History and Website Data” option. After tapping on this option, a warning message will appear asking if you’re sure that you want to delete all history and website data stored by Safari. Select “Clear History and Data” to continue with the deletion process. Your search history is now permanently deleted from your iPad!
You can check iPhone 14 Series – Everything You Need to Know
Confirm Deletion Here.
After you’ve tapped on “Clear History and Website Data,” a warning message will appear asking if you’re sure that you want to delete all history and website data stored by Safari. Selecting “Clear History and Data” will permanently delete the search history from your iPad. Before confirming the deletion, make sure that this is what you want to do as all of your browsing data will be gone once the process is completed!
You can also check How To Take A Screen Shot On Mac
Restrict Search Engine Visibility in Safari Privacy Options if Necessary.
To reduce your search engine visibility further, you can go to Safari Privacy settings and turn on the option of Do Not Track. This will instruct websites not to track your activities and prevent them from keeping records of your browsing history. You can also choose which websites are allowed access to your location so that sites don’t track you without permission. Lastly, make sure to delete any bookmarks or favorites in Safari, as these may include webpages that you visited in the past.


